Photoshop打造磨砂玻璃文字效果。
先看一下最终效果:

制作工具:Phoshop CS
制作过程:
1、打开一幅背景图片,效果如图01所示。
2、单击工具箱中的文字工具,字字符面板中设置颜色为白色,在窗口中输入文字,调整大小和位置,效果如图02所示。

3、设置文字图层的填充为12%,效果如图03所示。
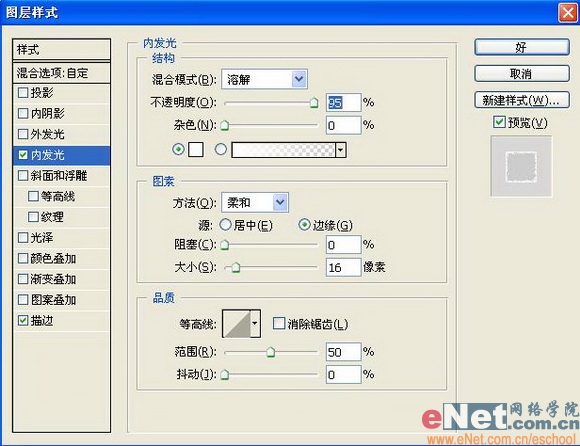
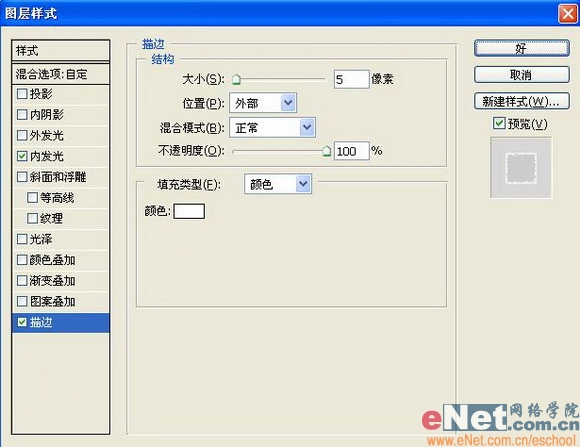
4、双击文字图层,在弹出的图层样式对话框中选择“内发光”和“描边”样式,设置参数如图04和05所示,其中内发光的的颜色为乳白色,描边的颜色为白色,图像效果如图06所示。

5、设置文字层的不透明度为75%,图像效果如图07所示。

6、复制文字图层为文字层副本图层,并设置其不透明度和填充分别为100%,图像效果如图08所示。

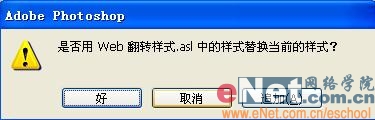
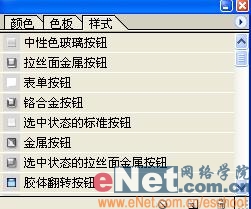
7、执行菜单栏中的“窗口”“样式”命令,在弹出的样式面板中单击快捷按钮,并在弹出的快捷菜单中选择“Web翻转样式”命令,将弹出一个提示对话框,如图09所示,单击追加按钮,如图10所示,在样式中选择“拉丝面金属按钮”样式,图像效果如图11所示。

8、设置文字层副本的图层混合模式为“正片叠底”,填充为60%,图像效果如图12所示。

9、为做好的文字增加投影,最终效果如图13所示。