|
1、新建一个文件,宽和高都为300。新建一个层,选择椭圆选框工具,按住Shift,在新层上画一个正圆。
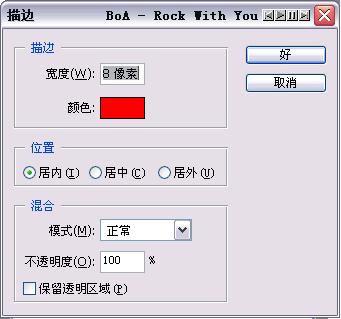
在编辑菜单里选择“描边”,在弹出的对话框里的描边 宽度里填入 8 像素(这个像素的值是不一定的,看你要做的印章的大小),在位置里选择“居内”,点确定。
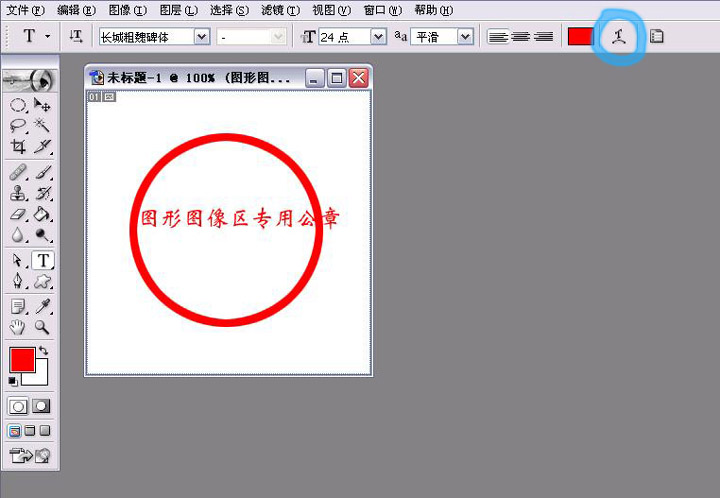
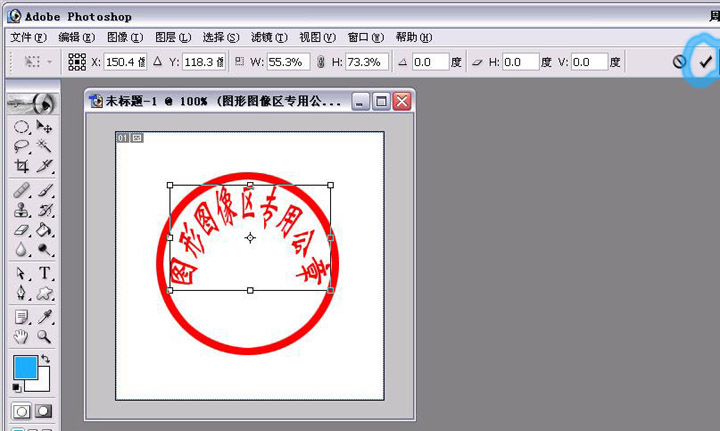
3、选择“横排文字工具”,输入你要的字(注意,字不要太大),选择中字点工具属性列里的创建变形文本,在变形文字里选择“扇形”,各参数如图
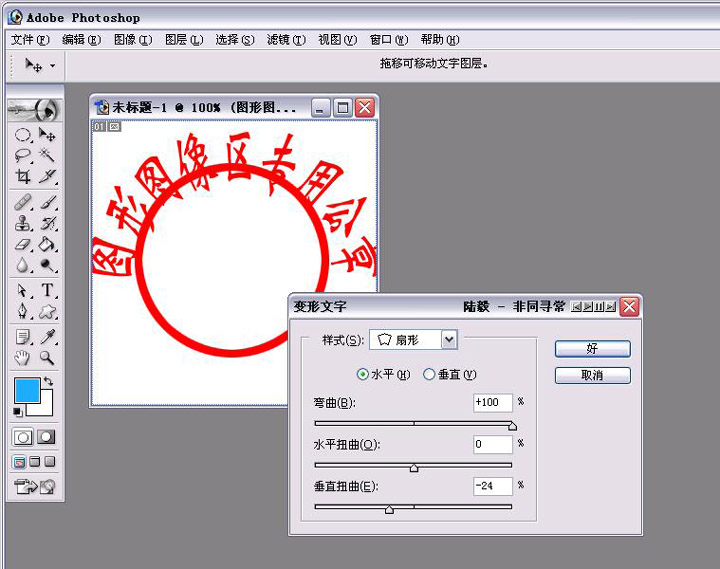
4、选择“移动工具”,在属性列里的“显示定界框”里打对勾。
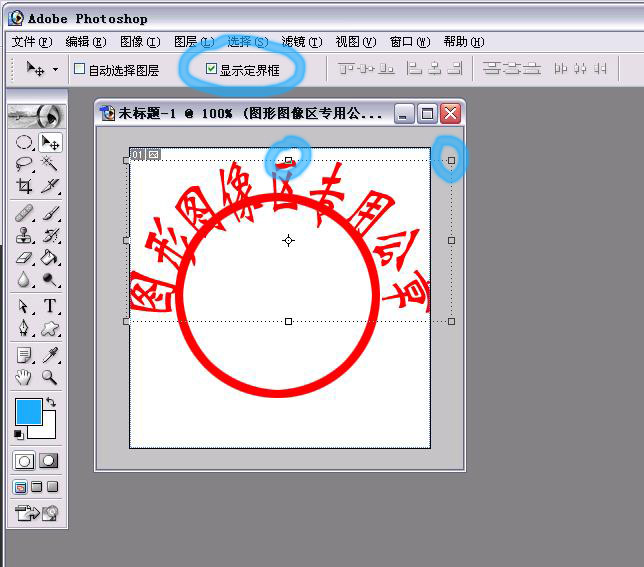
拖动文字周围的八个控制点调整文字大小并放入圆圈内。然后点确定(如图)
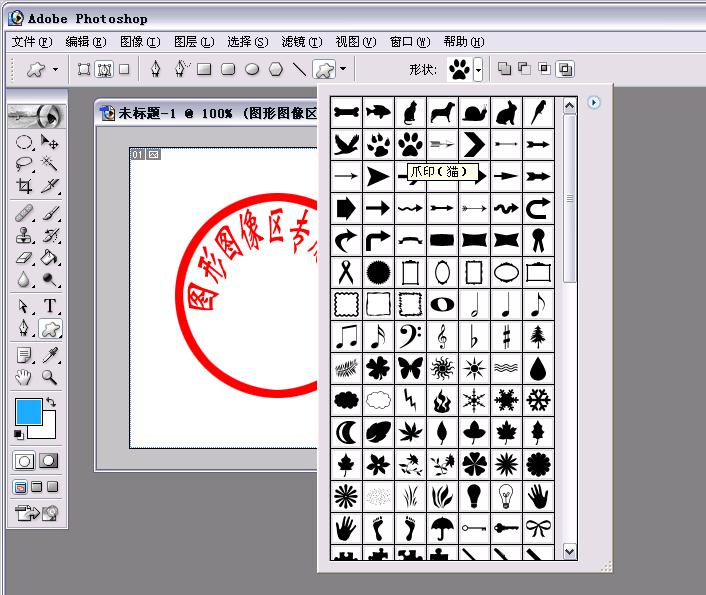
5、新建一个图层,选择“自定义形状工具”,选择一个自己喜欢的形状画出来。
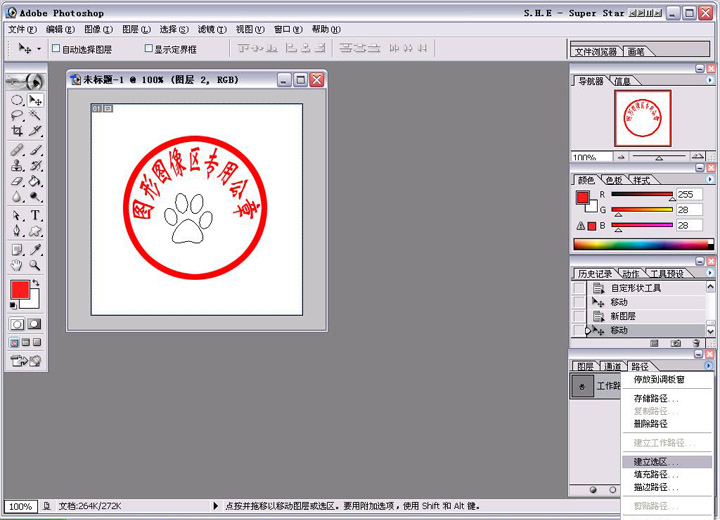
在路径调板窗口选择“建立选区”,就用默认值,点确定。
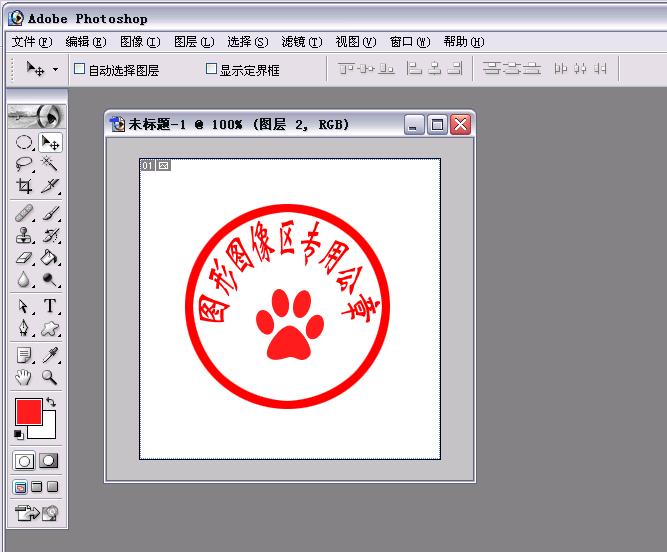
6、用“油漆桶工具”填充选区,然后移动到理想的地方,取消选区。(如图)
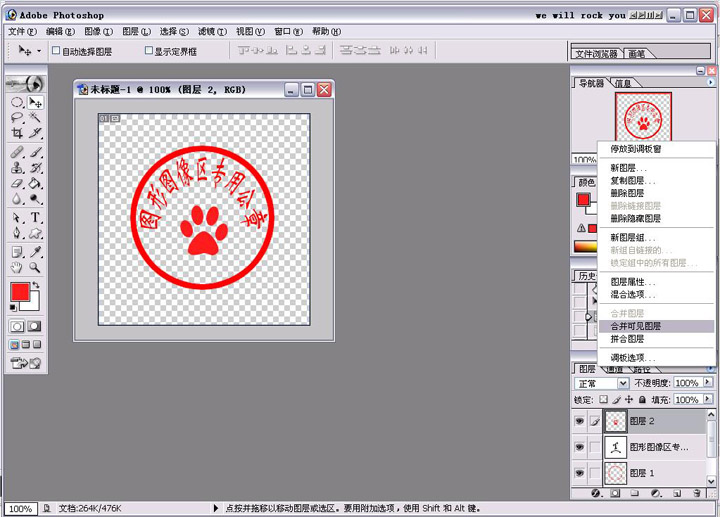
7、隐藏背景图层,选择“合并可见图层”。这可以算是做成了,但不像真的,还要加两种特殊效果。
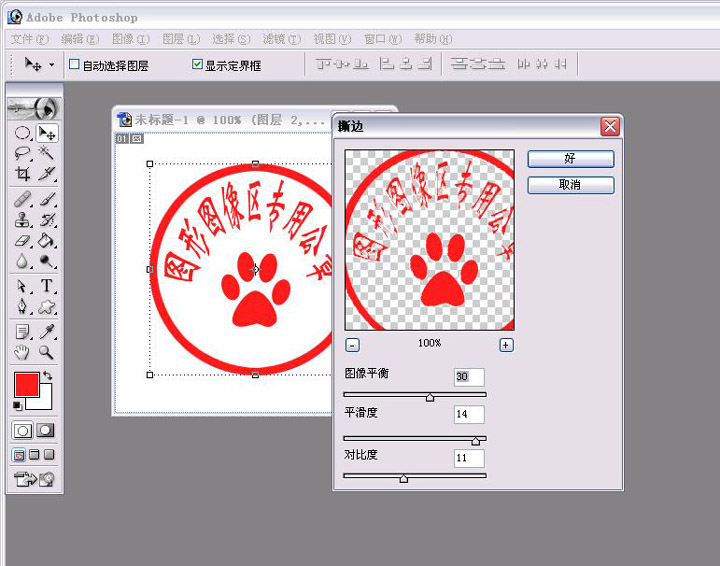
8、旧印章效果:选择 滤镜――素描――撕边,参数如图,然后确定
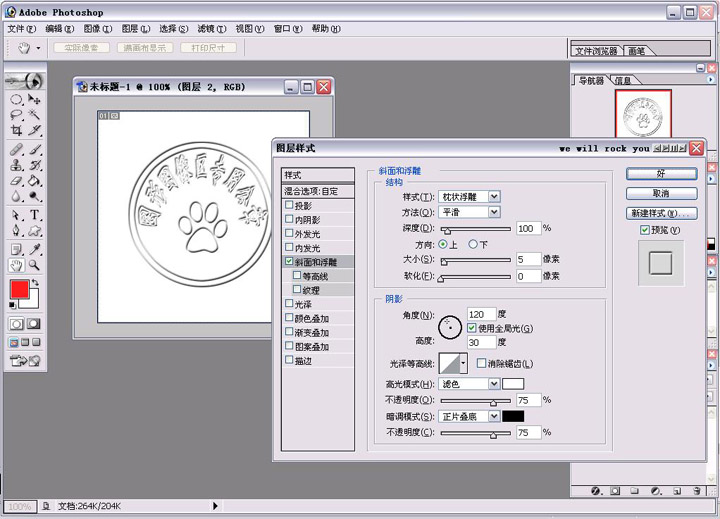
9、钢印效果:选择 图层样式――混合选项,参数如图

|