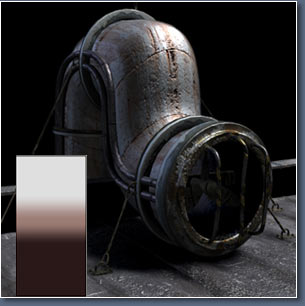
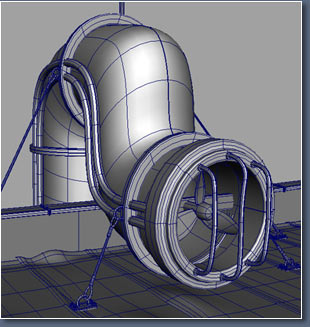
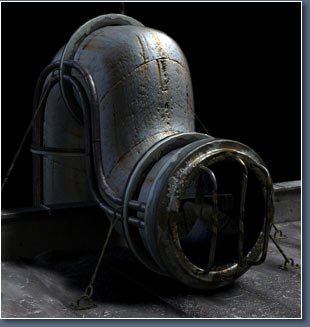
This is a part of the SpaceCity scene. Here we used a "3D Total Texture " without altering in Photoshop. This part of the scene is completely modeled using Nurbs.
 javascript id=text2198607>
javascript id=text2198608>贴图
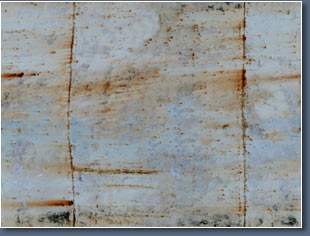
javascript id=text2198608>javascript id=text2198611>I used a "2D placement node" for the tube so that the texture conforms to the shape of the tube.
The same map was used for color and bump.

javascript id=text2198608>javascript id=text2198611>
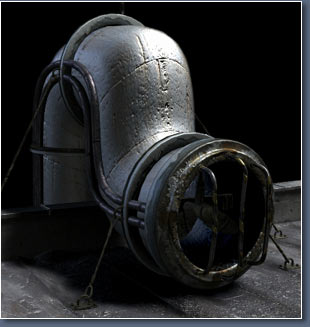
javascript id=text2198614>This is what I have so far a simple looking metal shader, next we work on the highlight.
javascript id=text2198614>javascript id=text2198615>材质属性
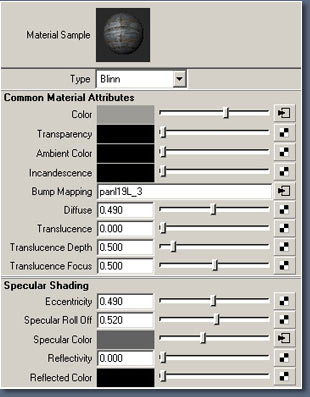
javascript id=text2198617>Next I map the "Specular Color". We make a duplicate of the file texture "With Connections to Network". This way I only need one texture placement node. Then I connect the duplicate with the Specular Color of the shader.
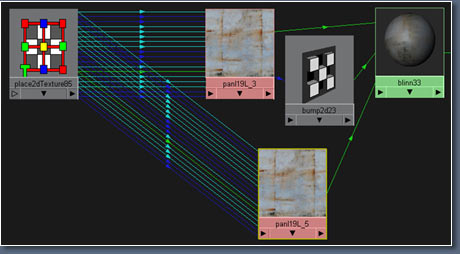
javascript id=text2198614>javascript id=text2198617>javascript id=text2198619>Now the highlight looks a little more interesting.
Next I will try some variations on the Specular color by connecting a Ramp to the "Color Remap" of the "Specular Color" file.
javascript id=text2198621>In the file of the
"Specular Color" under Effects click the "Insert" button next to "Color Remap".
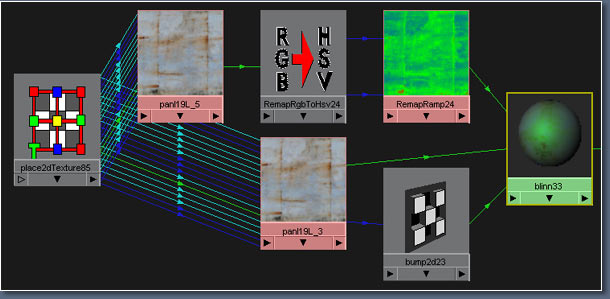
javascript id=text2198623>This is my final network for the tube shader, all that s left is editing the "Ramp" to get the disired look.
With the help of the IPR it s easy to check out different settings. Now open the "Remap Ramp" and experiment. Below are some Testrenders with their appropriate "Ramps".
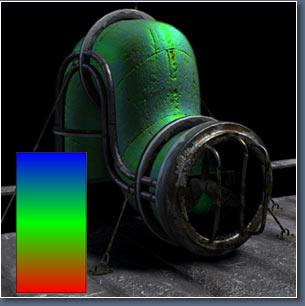
javascript id=text2198628>通过调整ramp以后所得到的不同效果
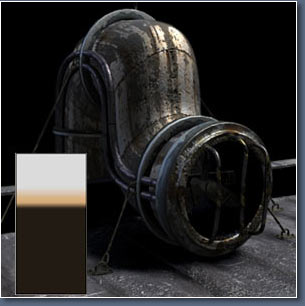
javascript id=text2198614>javascript id=text2198617>javascript id=text2198628>javascript id=text2198630>继续调整ramp
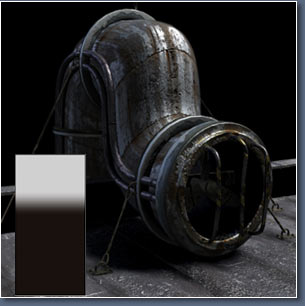
javascript id=text2198635>hehehehe
